How to get to Transfer Area Link to How to get to Transfer Area
Choose the map you’re on to see which portals to take.
Or start from a town
From the nearest town
From Kerning City to Transfer Area
3 steps 4 maps The fewest map changes over portals.
Portal to take Where you arrive
Step 1 of 3: Kerning City
Take the portal at the right, bottom to Subway Ticketing Booth. Invisible portal
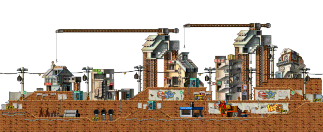
Step 2 of 3: Subway Ticketing Booth
You arrive at the left, top.
Head down and right.Take the portal at the right, bottom to Line 1 <Area 1>.
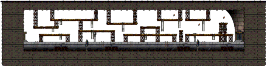
Step 3 of 3: Line 1 <Area 1>
You arrive at the far left, middle.
Head right.Take the portal at the far right, middle to Transfer Area. Invisible portal
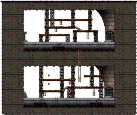
Arrive Transfer Area
You come out at the left, middle.
Mobs 1 mob · 38 placements Link to Mobs
| Mob | Level | Placements |
|---|---|---|
| Stirge Lv. 20 | 20 | 38 |

Exits 3 maps Link to Exits
| # | Portal here | Leads to | You arrive |
|---|---|---|---|
| 1 | left, middle | Line 1 <Area 1> | far right, middle |
| 2 | right, middle | Line 1 <Area 2> | far left, middle |
| 3 | right, bottom | Line 2 <Area 1> | far left, middle |
Entrances 3 maps
- Line 1 <Area 1> · portal at its far right, middle, arriving at the left, middle
- Line 1 <Area 2> · portal at its far left, middle, arriving at the right, middle
- Line 2 <Area 1> · portal at its far left, middle, arriving at the right, bottom
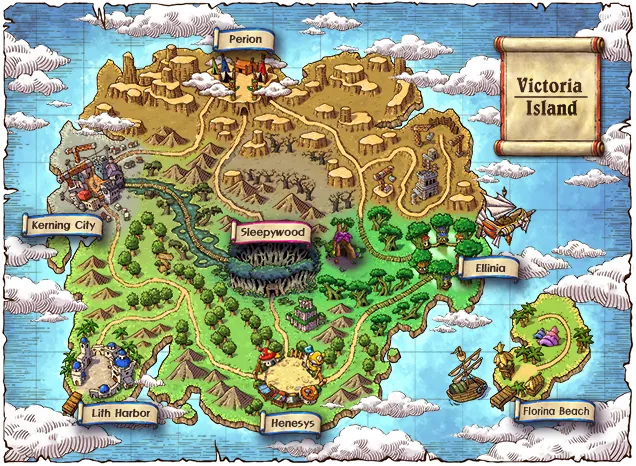
On the world map Link to On the world map
Map info Link to Map info
- Return map
- Kerning City
- Forced return map
- None
- Personal shops allowed
- Yes