Exits 3 maps Link to Exits
| # | Portal here | Leads to | You arrive |
|---|---|---|---|
| 1 | left, middle | The Tunnel That Lost Light II | far right, middle |
| 2 | left, bottom | The Tunnel That Lost Light II | far right, bottom |
| 3 | centre, middle | Drake's Meal Table | far left, bottom |
| 4 | centre, bottom | Another Path | far left, top |
Entrances 3 maps
- The Tunnel That Lost Light II · portal at its far right, bottom, arriving at the left, bottom; portal at its far right, middle, arriving at the left, middle
- Drake's Meal Table · portal at its far left, bottom, arriving at the centre, middle
- Another Path · portal at its far left, top, arriving at the centre, bottom
On the world map Link to On the world map
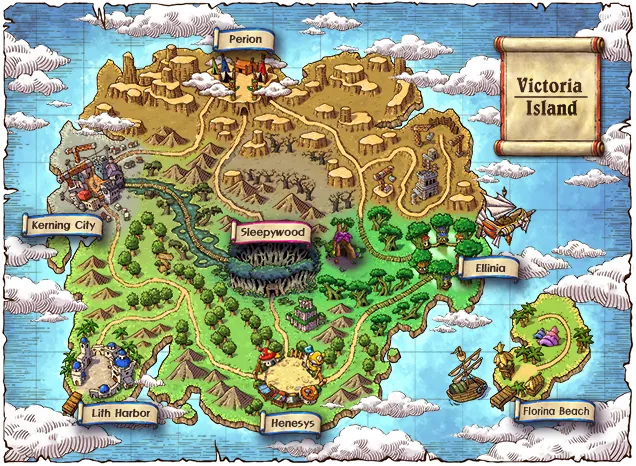
Map info Link to Map info
- Return map
- Sleepywood
- Forced return map
- None
- Personal shops allowed
- Yes
Links to this map Link to Links to this map
Maps that return here 6
- Another Path Forced return map
- Sanctuary Entrance I Forced return map
- Sanctuary Entrance II Forced return map
- Sanctuary Entrance III Forced return map
- Sanctuary Entrance IV Forced return map
- The Cursed Sanctuary Forced return map